

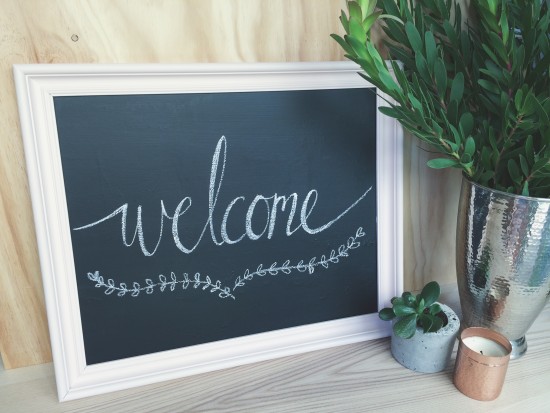
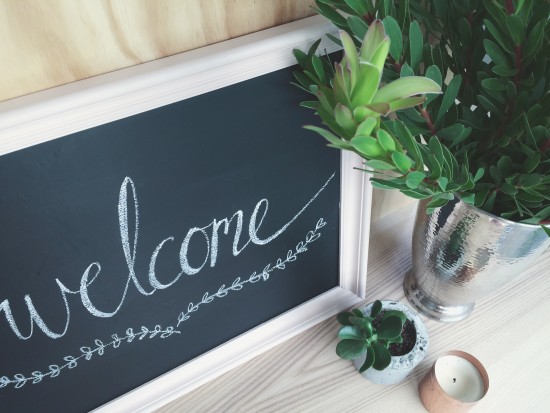
There are so many ways to make your wedding or special soiree look beautiful, and I firmly believe a gorgeous event is just that because of the details. One way to add your own decorative touch when planning your celebration is with a chalkboard! They are easy peasy to make and can be customised to say anything you want. Just think of the possibilities!
There are so many exceptionally clever people around at the moment who can letter up a storm and create a stunning artwork for you. It would be so special to keep the board as a memento of your event (or even for the weekly shopping list)!

What you’ll need:
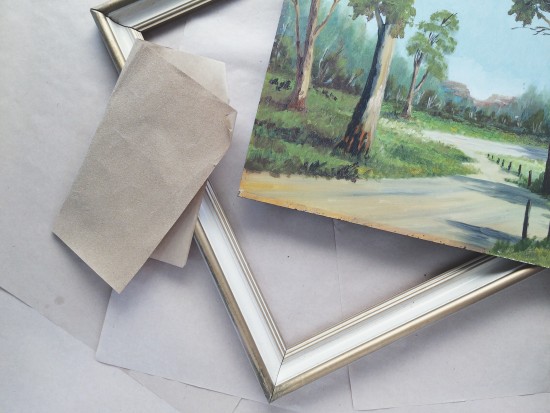
- An old frame (I found mine in a charity shop, without glass is a bonus, and if you find one with tabs on the back like an Ikea frame you’re golden!)
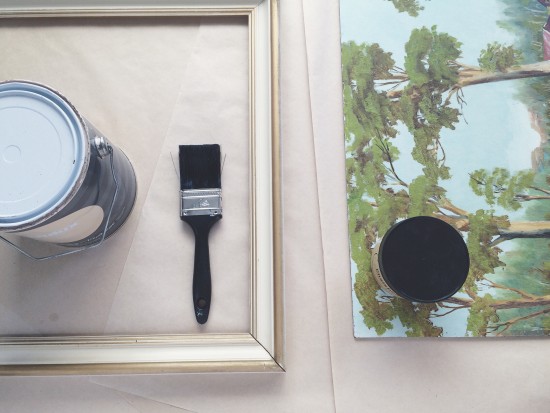
- Chalkboard paint (I bought mine at Kmart)
- Paper towels
- Paint for the frame (I used Dulux in ‘Ellen’)
- A paint brush
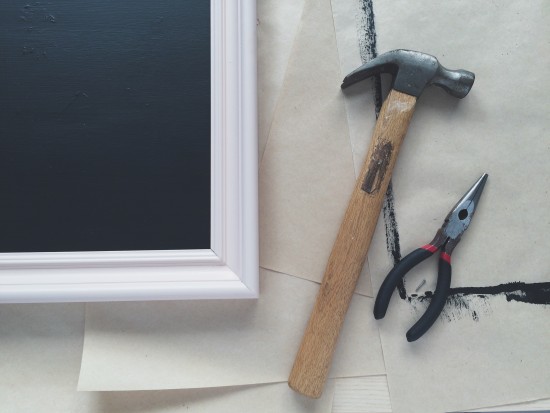
- Needle nose pliers
- Sandpaper (fine is best)
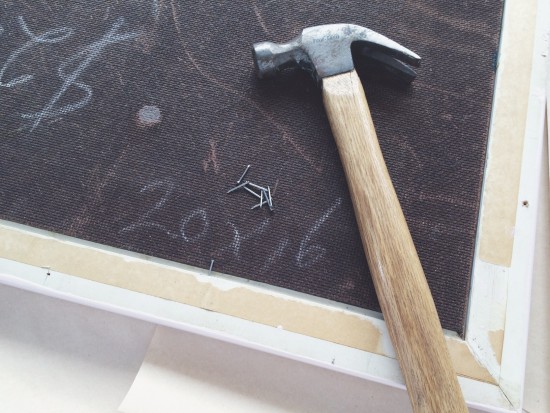
- A hammer and tacks if you didn’t find a frame with tabs on the back (like me!)
What to do:
Step 1. Remove all the tape and bits and bobs off the back of the frame. If it’s an old frame it will most likely be quite dirty, so lay down some paper first.
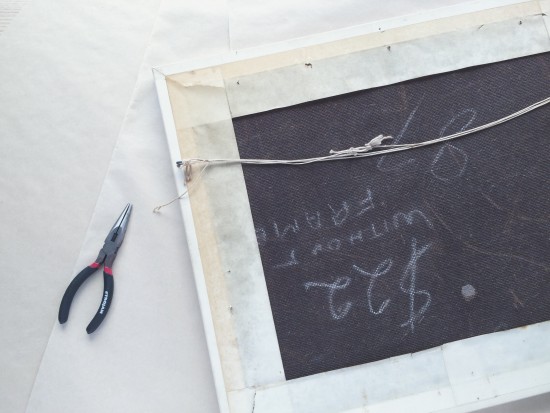
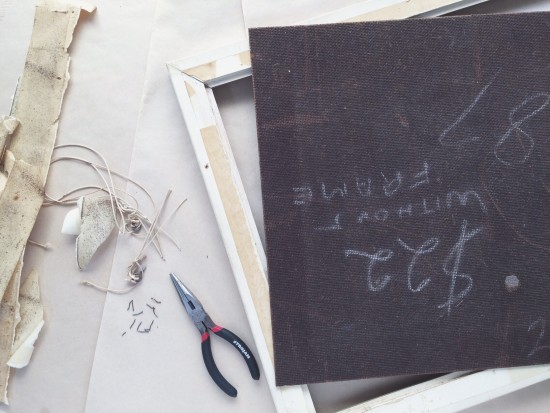
Step 2. Once all of the nails, tacks and tape (or whatever you’re lucky enough to have on the back of your frame!) are removed, give the frame and the front of the artwork a light sand. Make sure you do this in a well ventilated area, ideally outside. Give the frame and artwork a wipe with some damp paper towel to remove any dirt or dust.
Step 3. Once both items are dry, paint the painting with chalkboard paint and the frame with your chosen colour. I would recommend two coats on your frame and more with your chalkboard paint, but make sure you follow the instructions given on the packaging.
*If your frame houses a poster stuck to some ply, I’d recommend flipping it around so that you end up painting the ply rather than the poster.
Step 4. Once the paint is dry on both items, pop the chalkboard back into the frame. If you’re a lucky duck and managed to find a frame with bendable tabs like an Ikea frame, bend them to secure the board back in, and you’re done! If, like myself, you’re weren’t quite so lucky, grab your hammer and tacks. Hammer in approximately two tacks per side (watch your fingers!). Once the board is secured, you’re finished!
Step 5: Grab the chalk (or one of those exceptionally clever people we mentioned earlier) and get lettering!
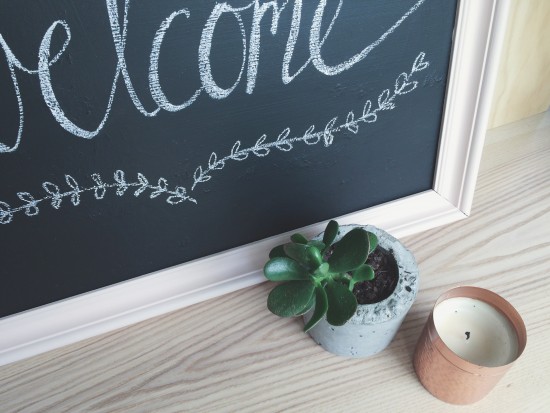
Images by Nicola Goring
![]()
Ms Chinoiserie Says: So easy and so pretty – what a fun DIY way to welcome your wedding guests or announce yourselves as Mr and Mrs!
About Nicola Goring – I’m Nicola, the florist and crafter behind rubyandjoy. I’m a gardening, fabric loving, mint tea drinking, brownie baking, book obsessed maker! I love a good adventure having just moved back from five years in Scotland (with my lovely Scottish husband).


Join the conversation